Steal Or Die Maps and Loot Routes
Where to steal, when to stop, and how to reach the exit alive.
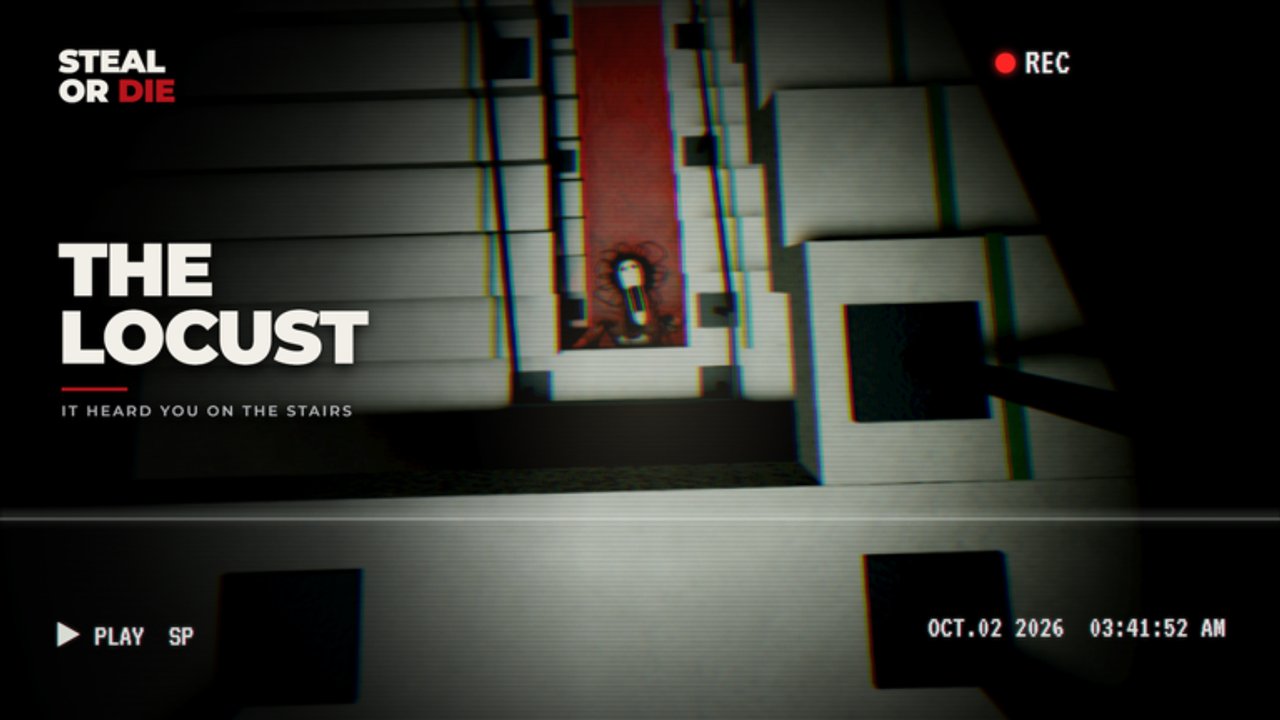
Steal Or Die maps are short horror sandboxes with the same rules everywhere: sealed exits, weight penalties, and an entity that hears you. This guide turns the five named maps into route plans and explains how to think about the 60-item loot pool advertised in version 2.1.
Map roster
Confirmed names from official descriptions, media, and the November 2026 Version 2.1 shout:
| Map | Beginner friendliness | Watch-outs |
|---|---|---|
| American Dorm | High | Closet spam, residential chokepoints |
| Office | High–medium | Long sightlines, cubicle mazes |
| Supermarket | Medium | Wide aisles, backroom vents |
| Facility | Medium–hard | Corridor chains, industrial noise |
| Basement (Version 2.1) | Learning | New landmarks; treat like Facility until exits stick |
Vote the map you have studied. Random prestige votes are how night-one thieves donate loot to the hunter.
Universal loot rules
- Rarity raises payout and weight. Phones and light junk keep you mobile. Gold bars and mythics slow chase escapes.
- Bag capacity matters. When the bag fills, the next item sits in your hands — hold F to throw.
- Only exits bank value. A legendary on a corpse is worth zero.
- Secret items exist. Version 2.0 mentioned a new secret item without publishing the name. Do not invent identities; grab labeled value you understand.
Use the loot tier list when you decide whether a pickup is worth the sprint tax.
American Dorm routes
Safe loop: clear two nearby dorm rooms → note closet → rotate shared bathroom/hall connectors → stage at the exit you scouted in the first minute.
Rich loop: add a third room only if weight stays manageable and the entity audio is distant. Dorm rewards players who reset into closets — practice the bounce from How to Hide.
Office routes
Safe loop: short cubicle block → supply room → side stair or hall → exit staging.
Rich loop: executive rooms and locked side offices often hold better rarity, but the open floor plans punish flashlight use. Flick light only at doorways.
Office is excellent for learning Entity Player pressure because sightlines teach you when to break contact early. Hollow-style long reach is especially nasty here — see The Hollow.
Supermarket routes
Safe loop: front shelves for commons → one backroom dip → avoid center aisles when overweight.
Rich loop: back storage and specialty shelves. Wide spaces make crouch-sprinting around endcaps safer than straight aisle runs. Hollow-style long reach is nasty here — keep corners between you and the hunter.
Facility routes
Safe loop: pick a single wing, clear two rooms, never cross the long central corridor overweight.
Rich loop: deep wing valuables plus vent cuts. Pre-unscrew vents during quiet minutes. Facility punishes players who greed a second legendary without a vent plan.
Basement (Version 2.1)
The November 2026 Vantage Gameworks shout names the new map Basement, shipped beside entity skins and a season pass. Until you memorize landmarks, treat it like Facility: light bag, two hides noted, early exit staging. Update your personal notes after two survivor clears, then add it to your vote pool. Patch context lives on Version 2.1 and the Updates Hub.
Footage that tours Office, Supermarket, and Dorms mid-article:
Loot decision tree mid-round
Ask three questions before every pickup:
- Can I still crouch-sprint to my exit with this weight?
- Do I already have enough cash for my next upgrade goal?
- Is the entity currently on my wing?
If any answer is no, skip the shiny object. Progression targets — stamina, sprint, backpack — beat one greedy jackpot that ends on the floor. Getting Started and Skill Tree and Upgrades cover the upgrade order.
Entity awareness by map
Combine this page with the Entities Hub:
- Dorm → expect closet checks from human hunters
- Office → expect peek angles down long halls (The Hollow spacing matters)
- Supermarket → expect aisle cuts and backroom camps
- Facility → expect corridor denial and vent camping
- Basement → expect unfamiliar chokes until landmarks stick; keep bags lighter than your backpack upgrade suggests
If you are the hunter, invert these notes using Play as Entity.
Events and modifiers
Older listings named rare events such as Full Blackout, Bloodbath, and Malfunction. Bloodbath still appears in Version 2.1 fix notes (Rictus doorway). When darkness or aggression hits, prioritize memorized walls over new loot wings — full checklist in Events. Nightmare mode was removed in 2.1 for abuse.
Bottom line
Maps in Steal Or Die reward preparation. Learn one safe loop and one rich loop per layout across all five named maps, respect weight, and stage early for the exit. The thieves who “get lucky” are usually the ones who already knew which hallway leads home.
Frequently Asked Questions
Quick answers to the most common questions.
How many maps does Steal Or Die have?
Five named maps: Facility, Office, American Dorm, Supermarket, and Basement (added in Version 2.1).
How many loot items are there?
The version 2.1 description lists 60 items. Earlier snapshots listed 31, 37, or 32 — always trust the live listing date.
Which map is best for beginners?
American Dorm or Office. Both teach closets and short rotations before Facility or Basement’s harder geometry.
Should I always grab the rarest loot?
No. If weight blocks your exit path, throw it. Banking commons beats dying on a mythic.